Experiences setting up a Lotus Pond Pot
A novice’s first time experience setting up a Lotus pond and germinating the Lotus seeds to a full plant
The trigger
Our neighbors have a very nice Lotus setup in the front of their garden, with flowers blooming in it. It is really a pleasing experience to see it. With lifestyles limiting to specifics, I’m glad to be around with like minded people. So we decided to set up a Lotus Pond Pot in our garden too.
Hunting the pot
About 2/3rd of our garden has been laid out with Mexican Grass, with the exception of some odd spots where there are 2 large concrete tanks in the ground and other small tanks. The large one is fairly big, with a dimension around 3.5 x 3.5 ft. We wanted to make use of that spot. I checked out some of the available pots and found a good looking circular pot carved in stone, of around 2 ft, but it was quite expensive and not fitting my budget.
With the stone pot out of my budget, the other options left out were
- One molded in cement
- Granite
We looked at another pot maker who made pots by molds in cement. They had some small size pot samples of around 1x1 feet but the finished product samples didn’t look very good. From the available samples, we weren’t sure how well would the pot what we wanted, would look like. Also, they weren’t having a proportionate price difference. The vendor would take a months time to make one. With no ready made sample of that size in place, this was something we weren’t very enthused to explore.
We instead chose to explore the possibility of building one with granite slabs. First reason being, granite vendors were more easily available. But second and most important, given the spot I had chosen, I felt a square granite based setup will be an equally good fit. Also, the granite based pot was coming in budget friendly. Finally, we settled with a 3 x 3 ft granite pot.
And this is what our initial Lotus Pot looked like.
Note: The granite pot was quite heavy, close to around 200 Kilograms. It took us 3 people to place it at the designated spot
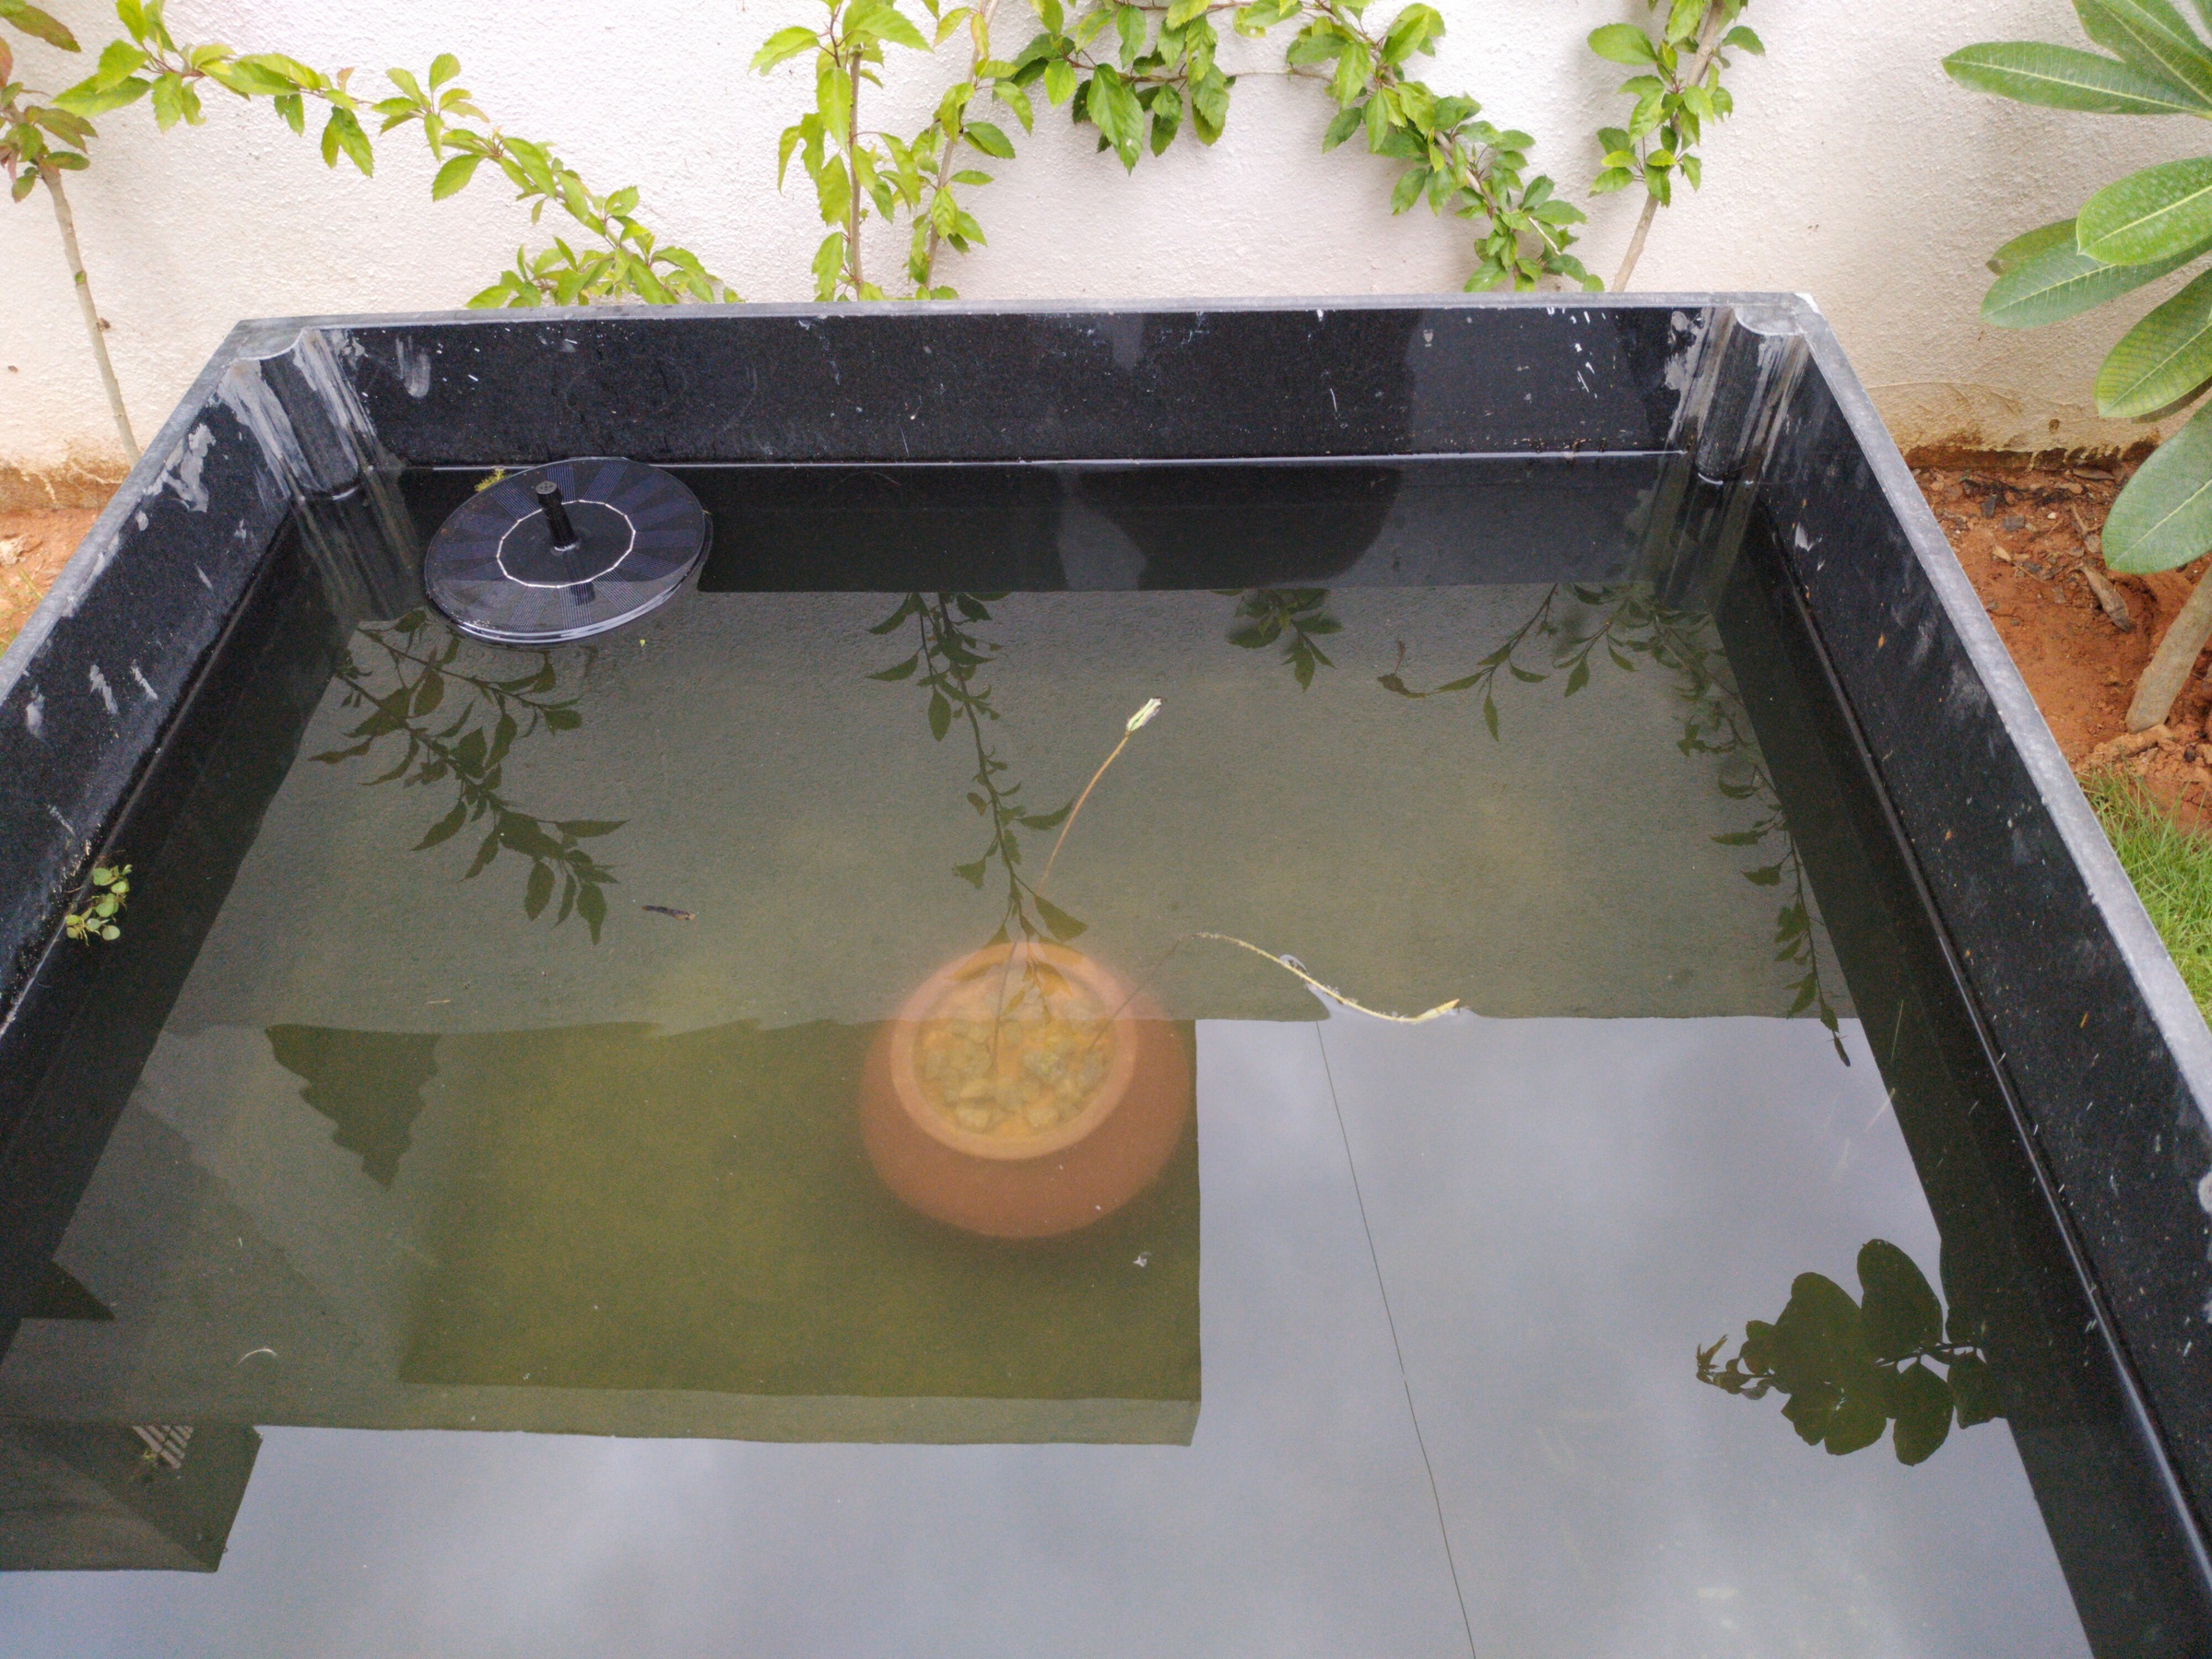
Actual Lotus pot
As you can see from the picture above, there’s another pot in the larger granite pot itself. Lotus’ grow in water and sludge. So we needed to provide it with the same setup. We used one of the Biryani Pots to prepare for the sludge. This is where the Lotus’ roots, tuber, will live and grow, inside the water and sludge.
With an open pot, when you have water stored, you have other challenges to take care of.
- Aeration of the water
- Mosquitoes
We bought a solar water fountain to take care of the water. It is a nice device that works very well under sunlight. Remember, for your Lotus, you need a well sun-lit area. So, the solar water fountain was a perfect fit for this scenario.
But, with water, breed mosquitoes. As most would do, we chose to put in some fish into the pond to take care of that problem. We put in some Mollies, which we hope would produce more. Also the waste they produce, should work as a supplement fertilizer for the Lotus plant.
Aeration is very important for the fish and so far our Solar Water Fountain seems to be doing a good job there, keeping the fishes happy and healthy.
So in around a week, we had the Lotus Pot in place along with a water fountain and some fish.
The Lotus Plant itself
With the setup in place, it was now time to head to the nearby nursery and get the Lotus plant. It was an utter surprise to us to not find the Lotus plant in any of the nurseries. After quite a lot of searching around, we came across one nursery that had some lotus plants. They didn’t look in good health but that was the only option we had. But the bigger disappointment was the price, which was insanely high for a plant. We returned back home without the Lotus, a little disheartened.
Thank you Internet
The internet has connected the world so well. I looked up the internet and was delighted to see so many people sharing experiences in the form of articles and YouTube videos about Lotus. You can find all the necessary information about. With it, we were all charged up to venture into the next step, to grow the lotus from scratch seeds instead.
The Lotus seeds
First, we looked up the internet and placed an order for 15 lotus seeds. Soon, they were delivered. And this is what Lotus seeds look like.
I had, never in my life before, seen lotus seeds. The shell is very very hard. An impressive remnant of the Lotus plant.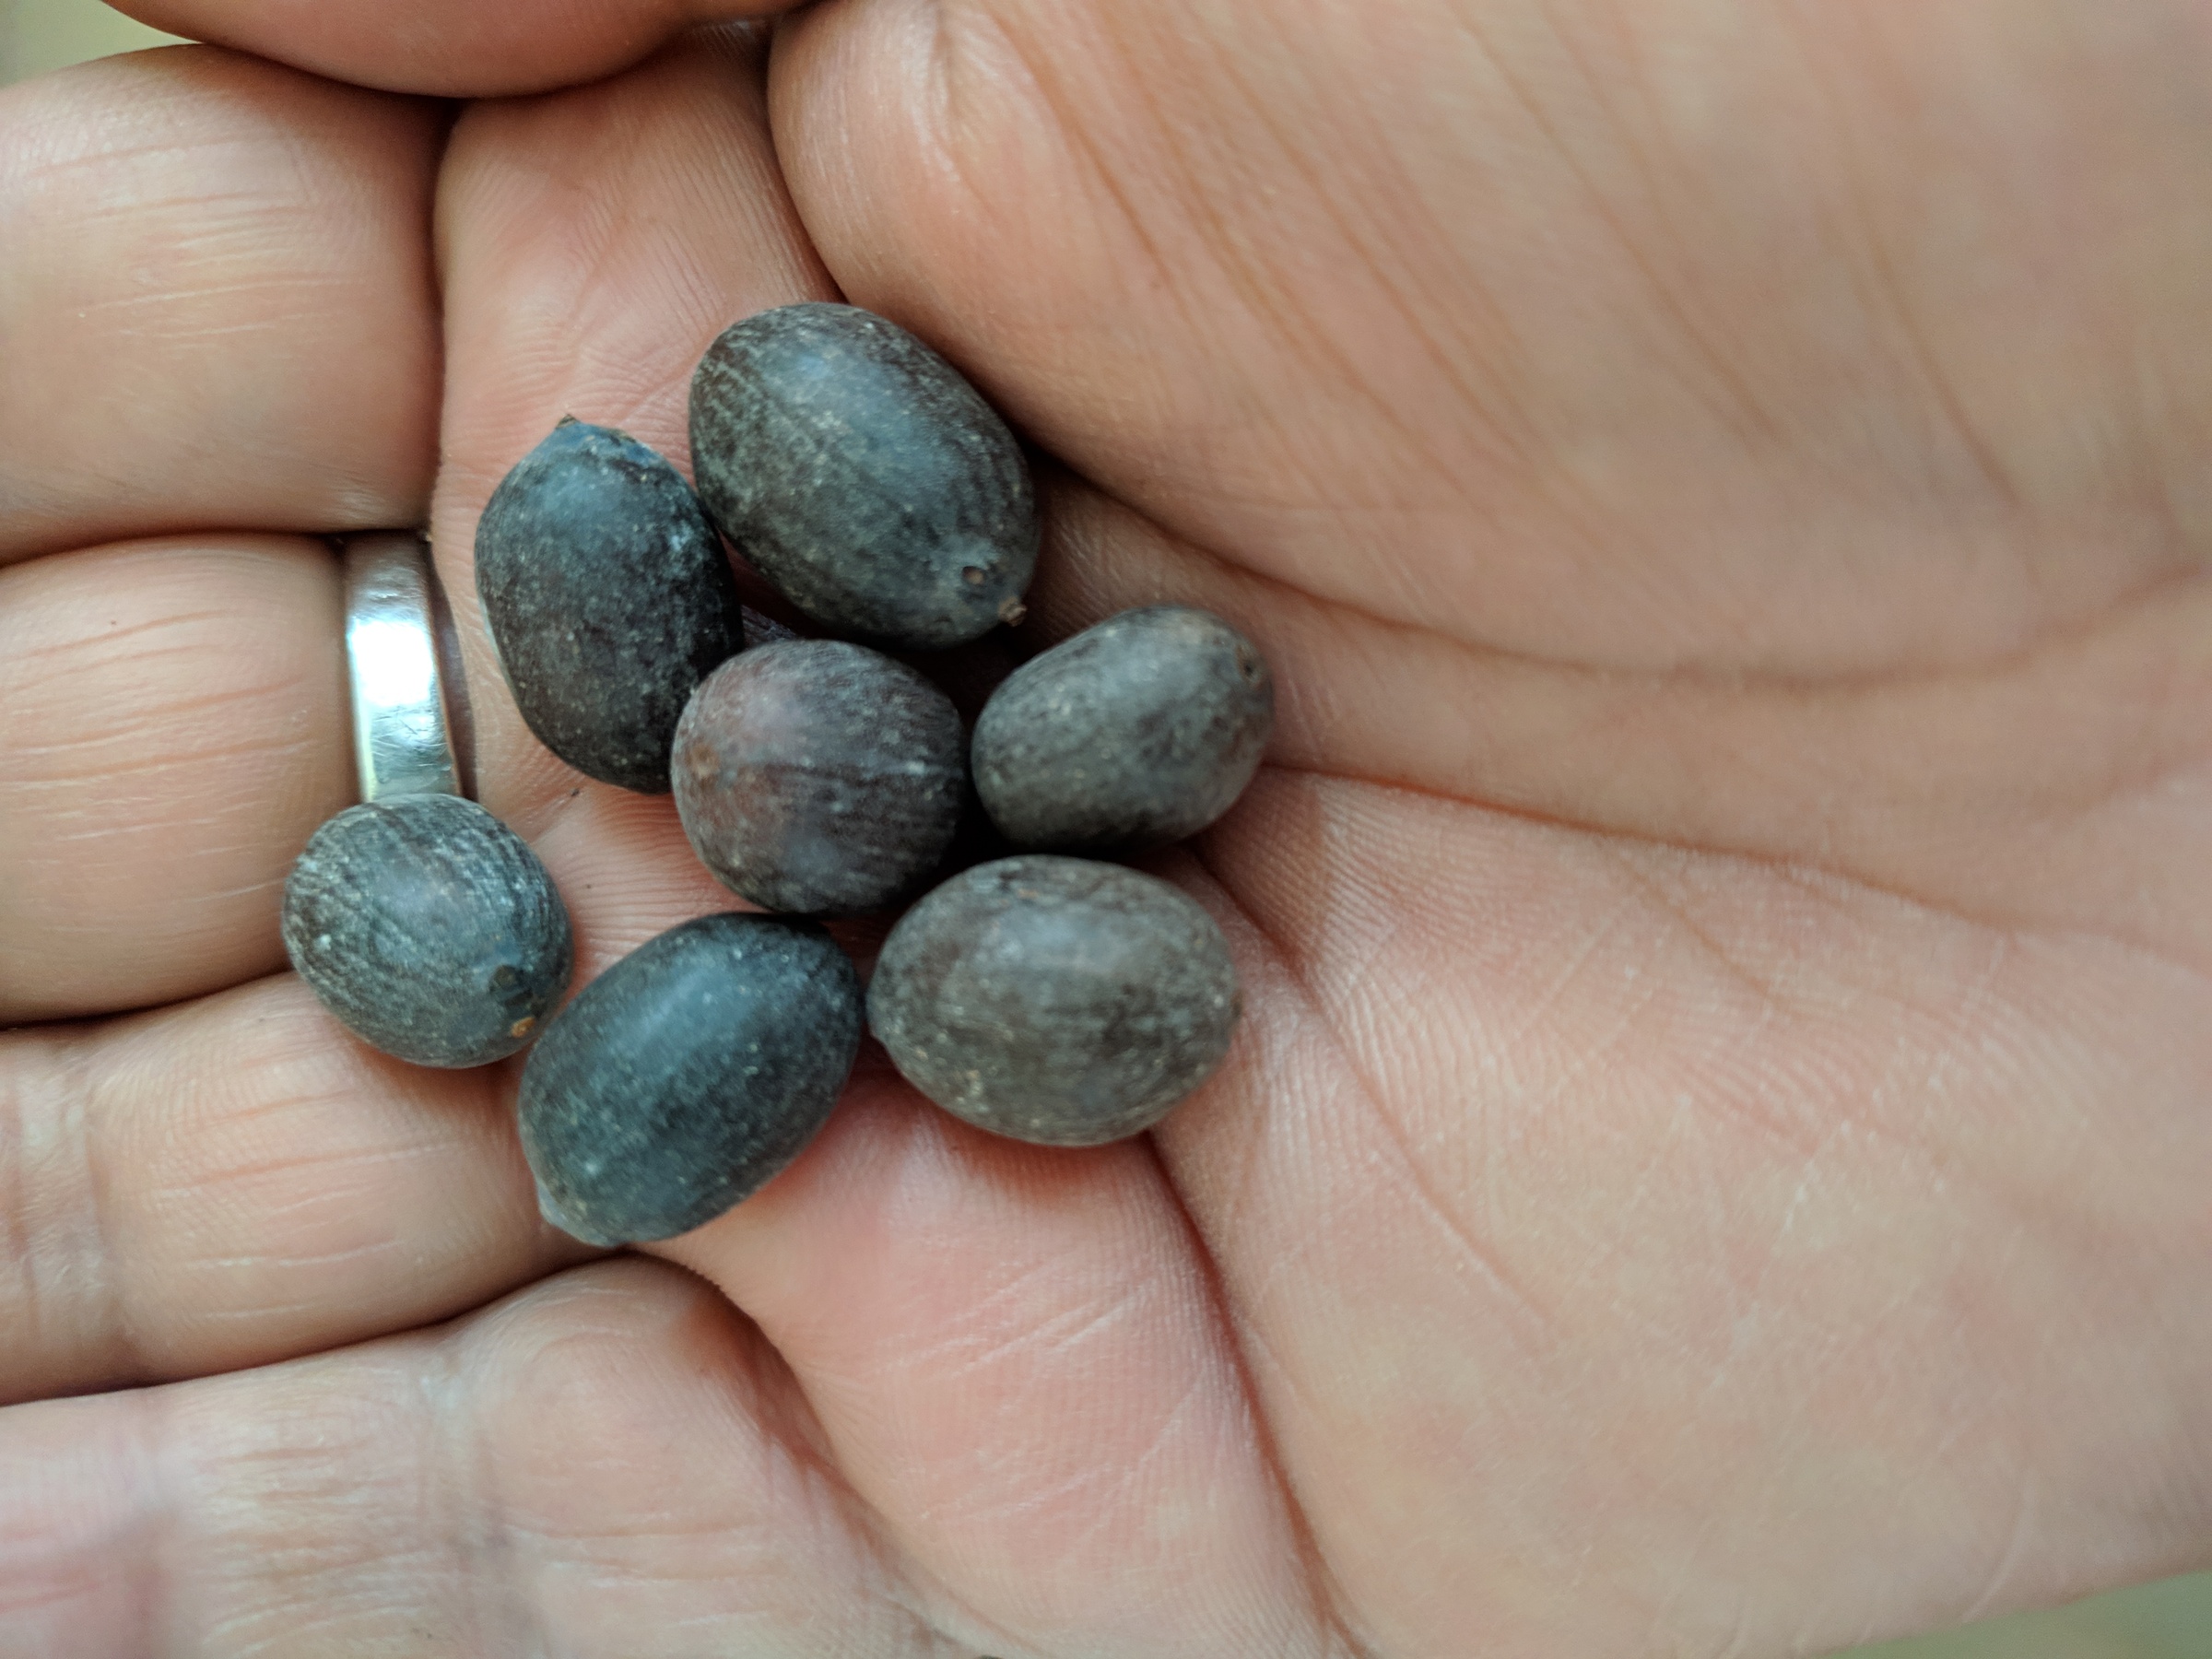
Germinating the seed
Germinating the seed is an experience of its own, given how hard the lotus’ shell is. There are very good articles and videos on the internet explaining on the steps on how to germinate a seed. In a gist, you need to scratch the pointy end of the seed’s shell enough to see the inner membrane. And then you need to submerge it in water for around 7-10 days. Every day, you’ll be able to witness the germination process.
Make sure to scratch the pointy end well enough, while also ensuring to not damage the inner membrane of the seed. You also need to change the water in the container on a daily basis and keep it in a decently lit area.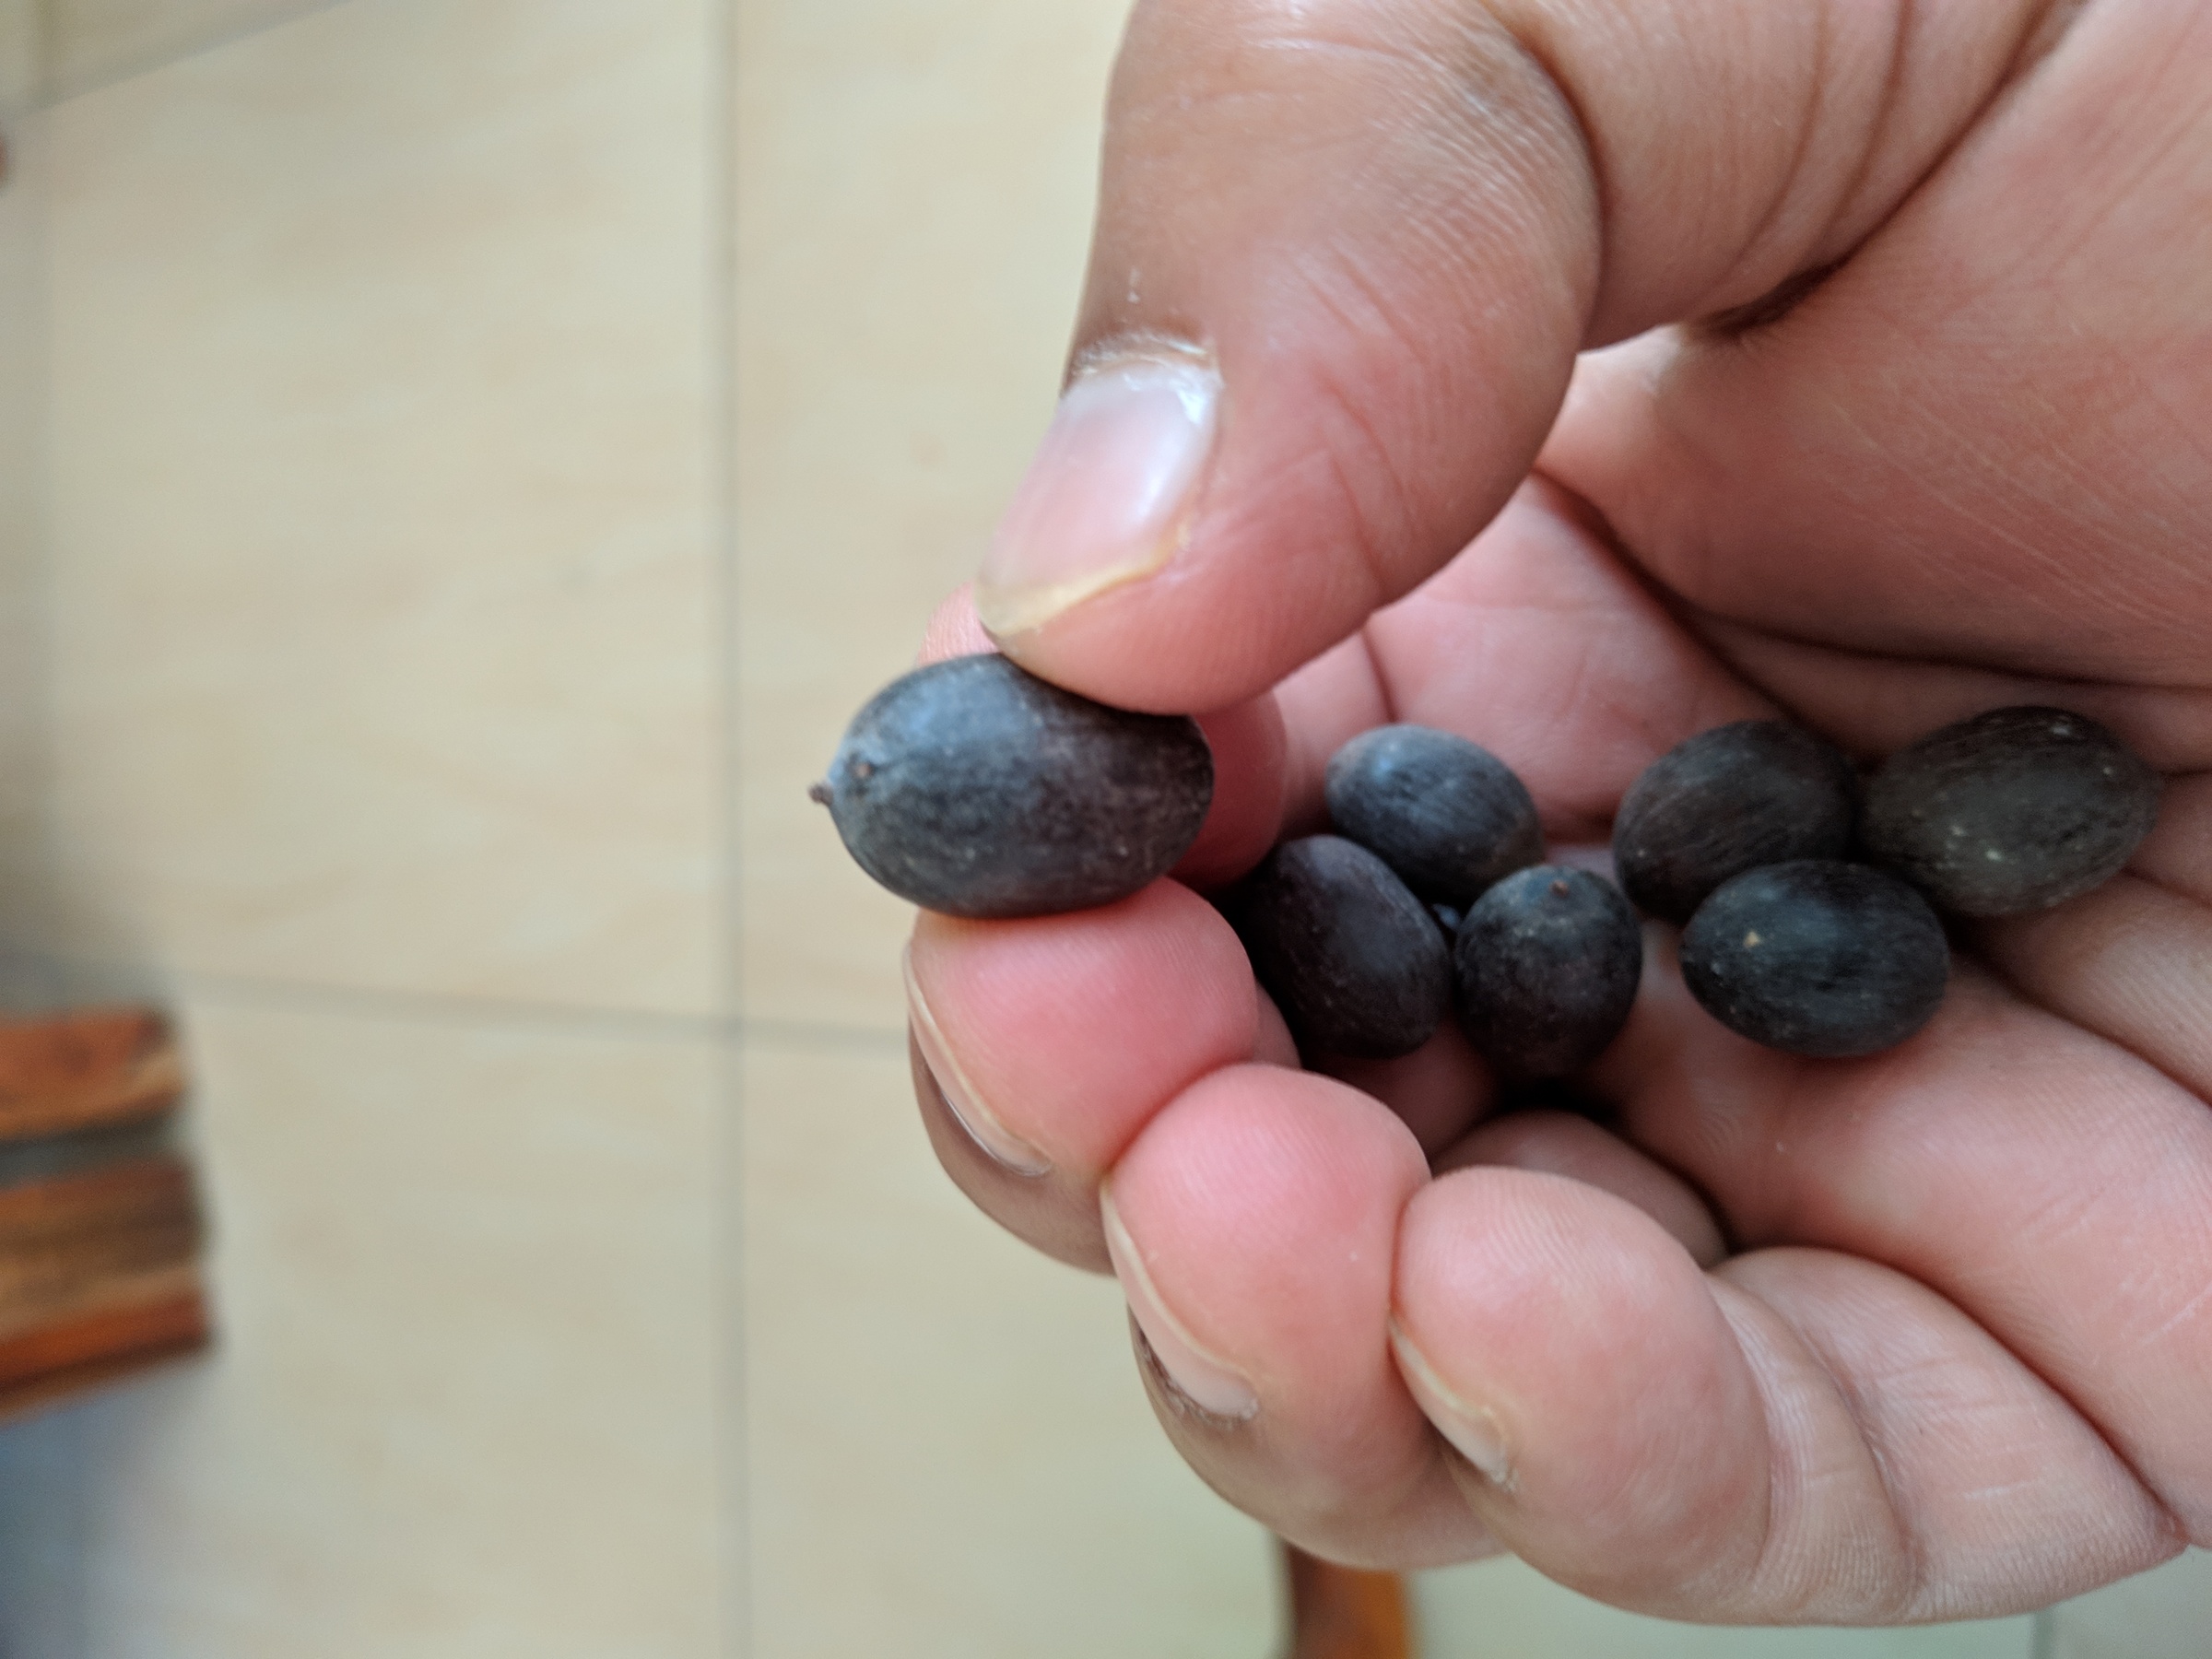
Here’s an interesting bit, specific to my own experience. Turned out that the seeds we purchased online wasn’t of good quality. Except for one, none of the other seeds germinated. And the one that did, did not sprout out proper. It popped a single shoot but the shoot did not grow much. In all, it didn’t work.
But while we were waiting for the seeds to be delivered, my wife looked at the pictures of the seeds that I was studying about online, realized that we already had the lotus seeds at home. Turns out, these seeds are used in our Hindu Puja Rituals. The seeds are called कमल गट्टा in Hindi. We had some of the seeds from the puja remaining. So we had in parallel, used those seeds for germination and they sprouted out very well.
Unfortunately, I had not taken any pictures of them during the germination phase Update: Sat 12 Oct 2019
The sprouting phase should be done in a tall glass. This will allow for the shoots to grow long, as eventually, it needs to be set into the actual pot. During the germination phase, the shoot will grow daily around an inch or so, ultimately targeting to reach the surface of the water. Once it reaches the surface, eventually, at the base, it’ll start developing the roots.
Now is time to start the preparation to sow the seed into the sub-pot which has all the sludge
Sowing your seeds
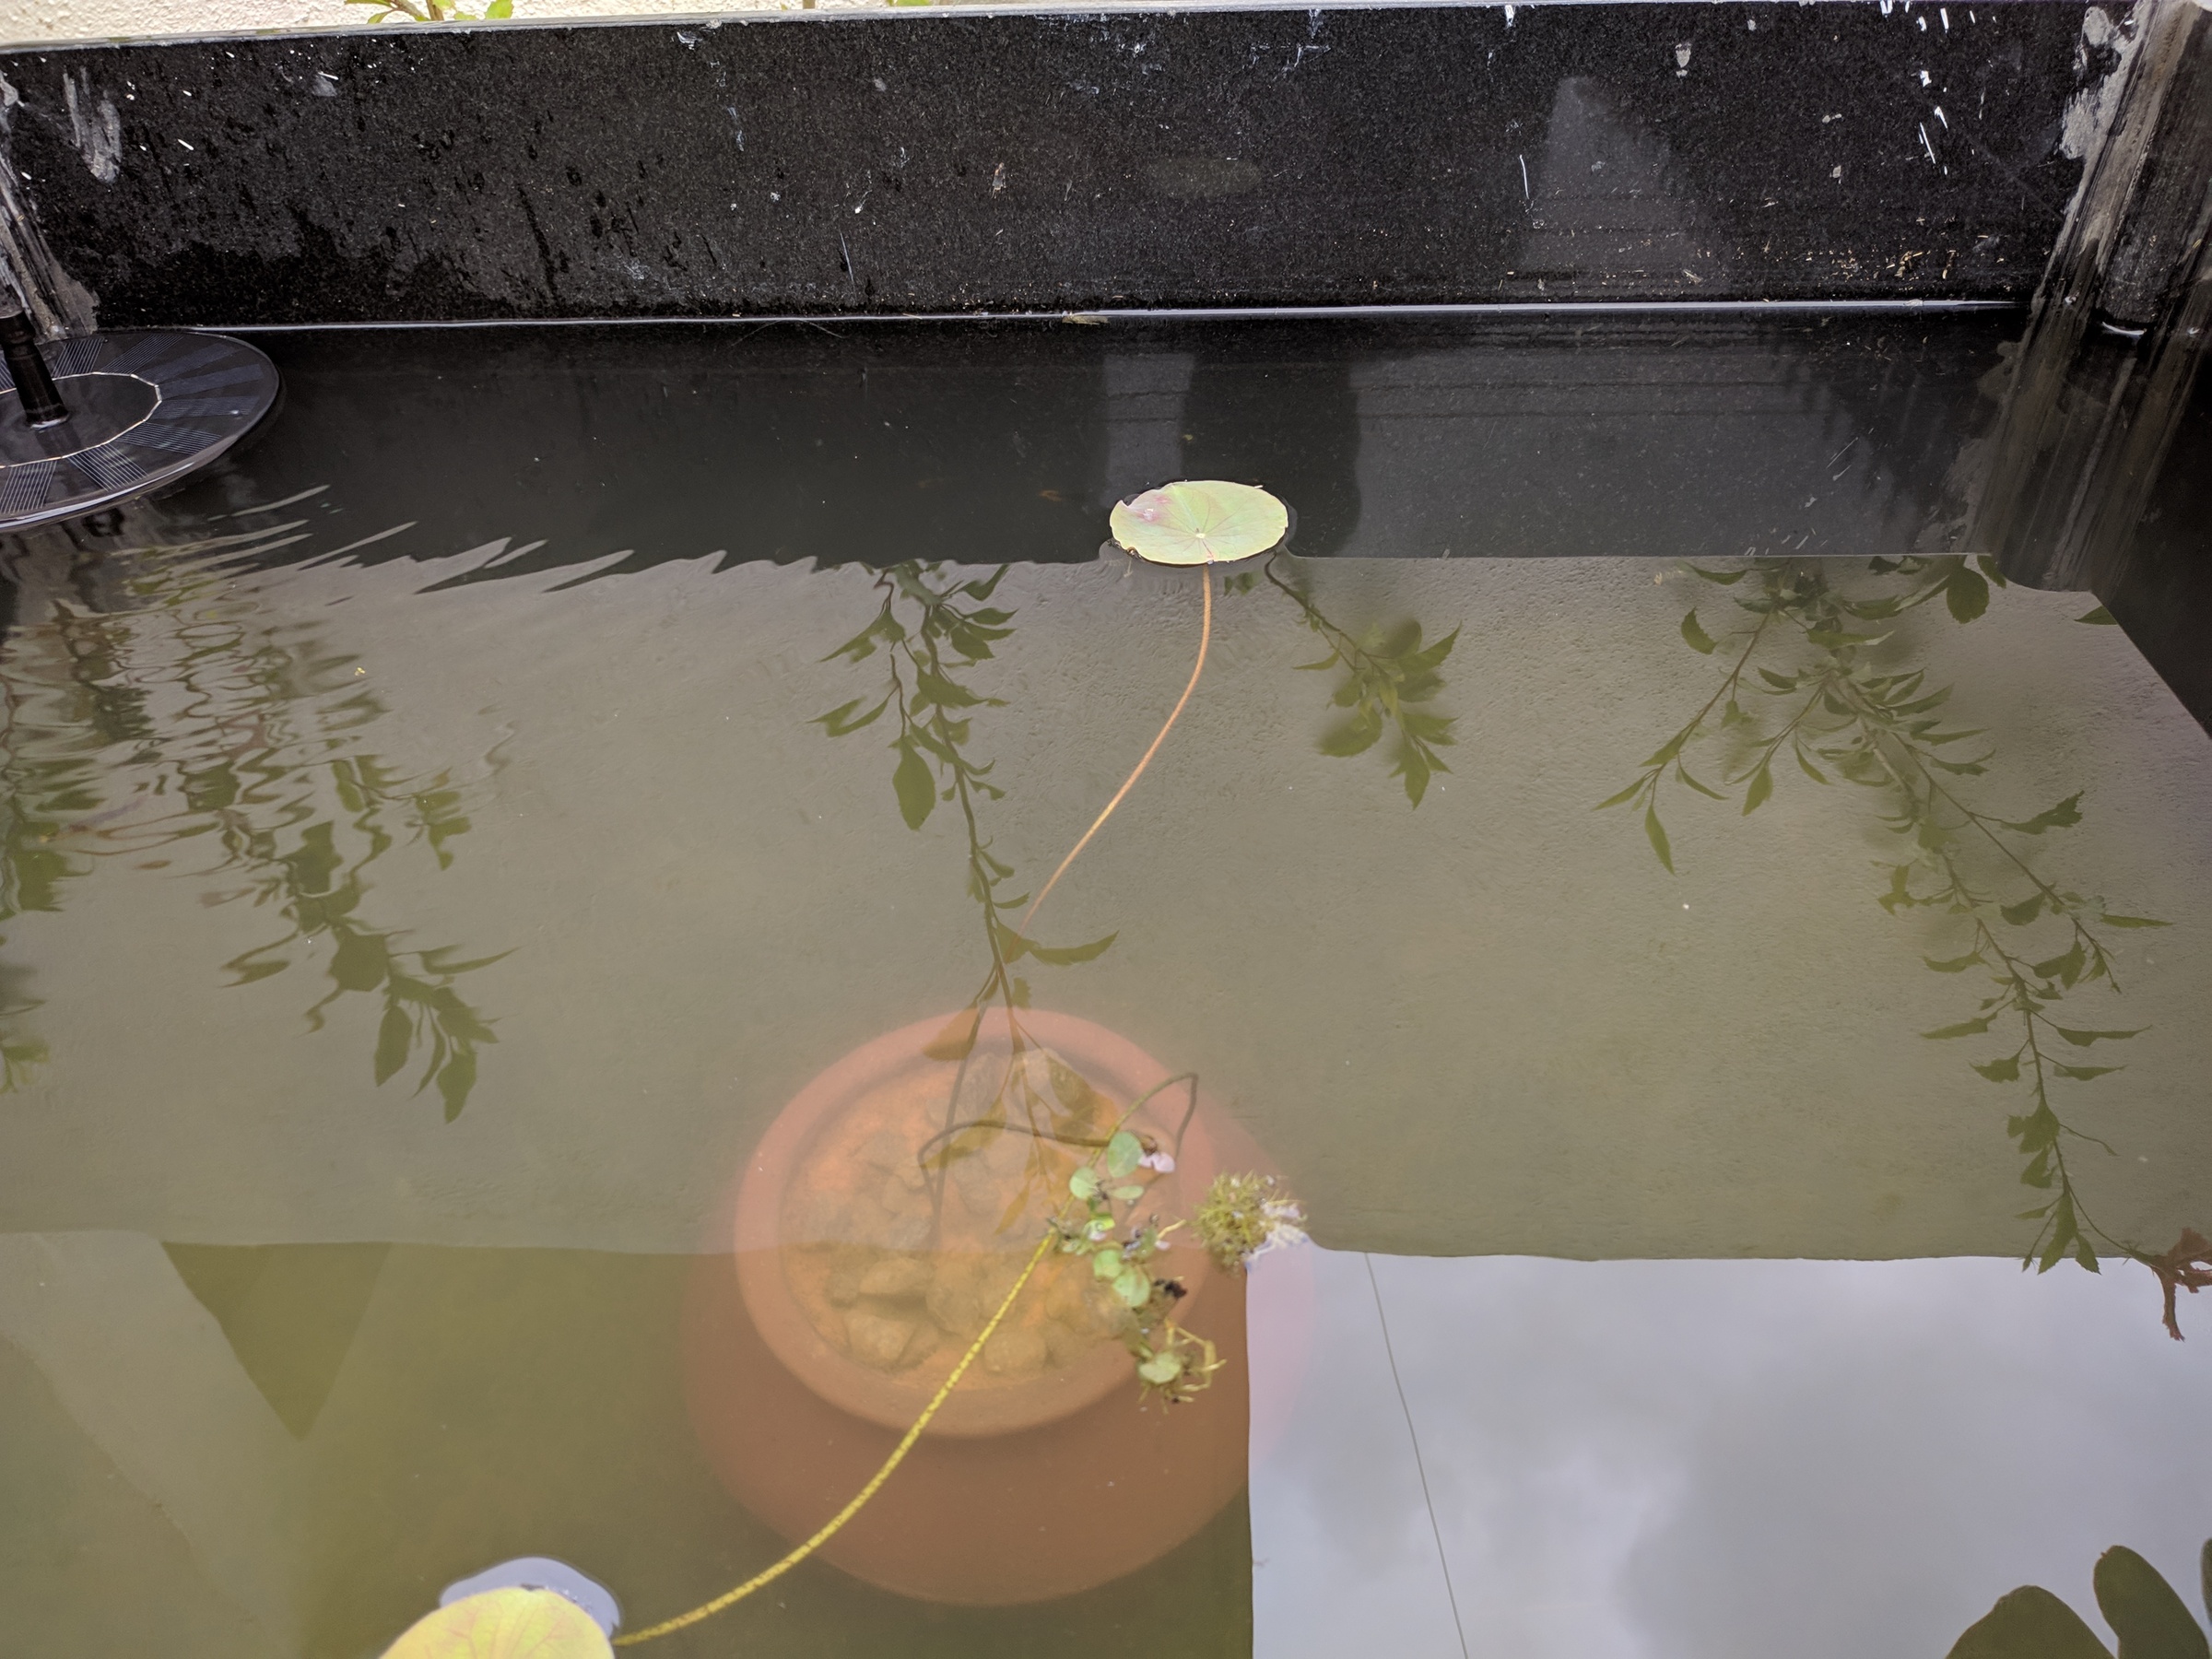
This picture is from a couple of days after I sowed the seeds. When you transfer the shoots into the sludge, use your finger to submerge into the sludge making room for the seed. Gently place the seed into the sludge. You can also cover the sub-pot with some gravel just to keep the sludge intact and clean.
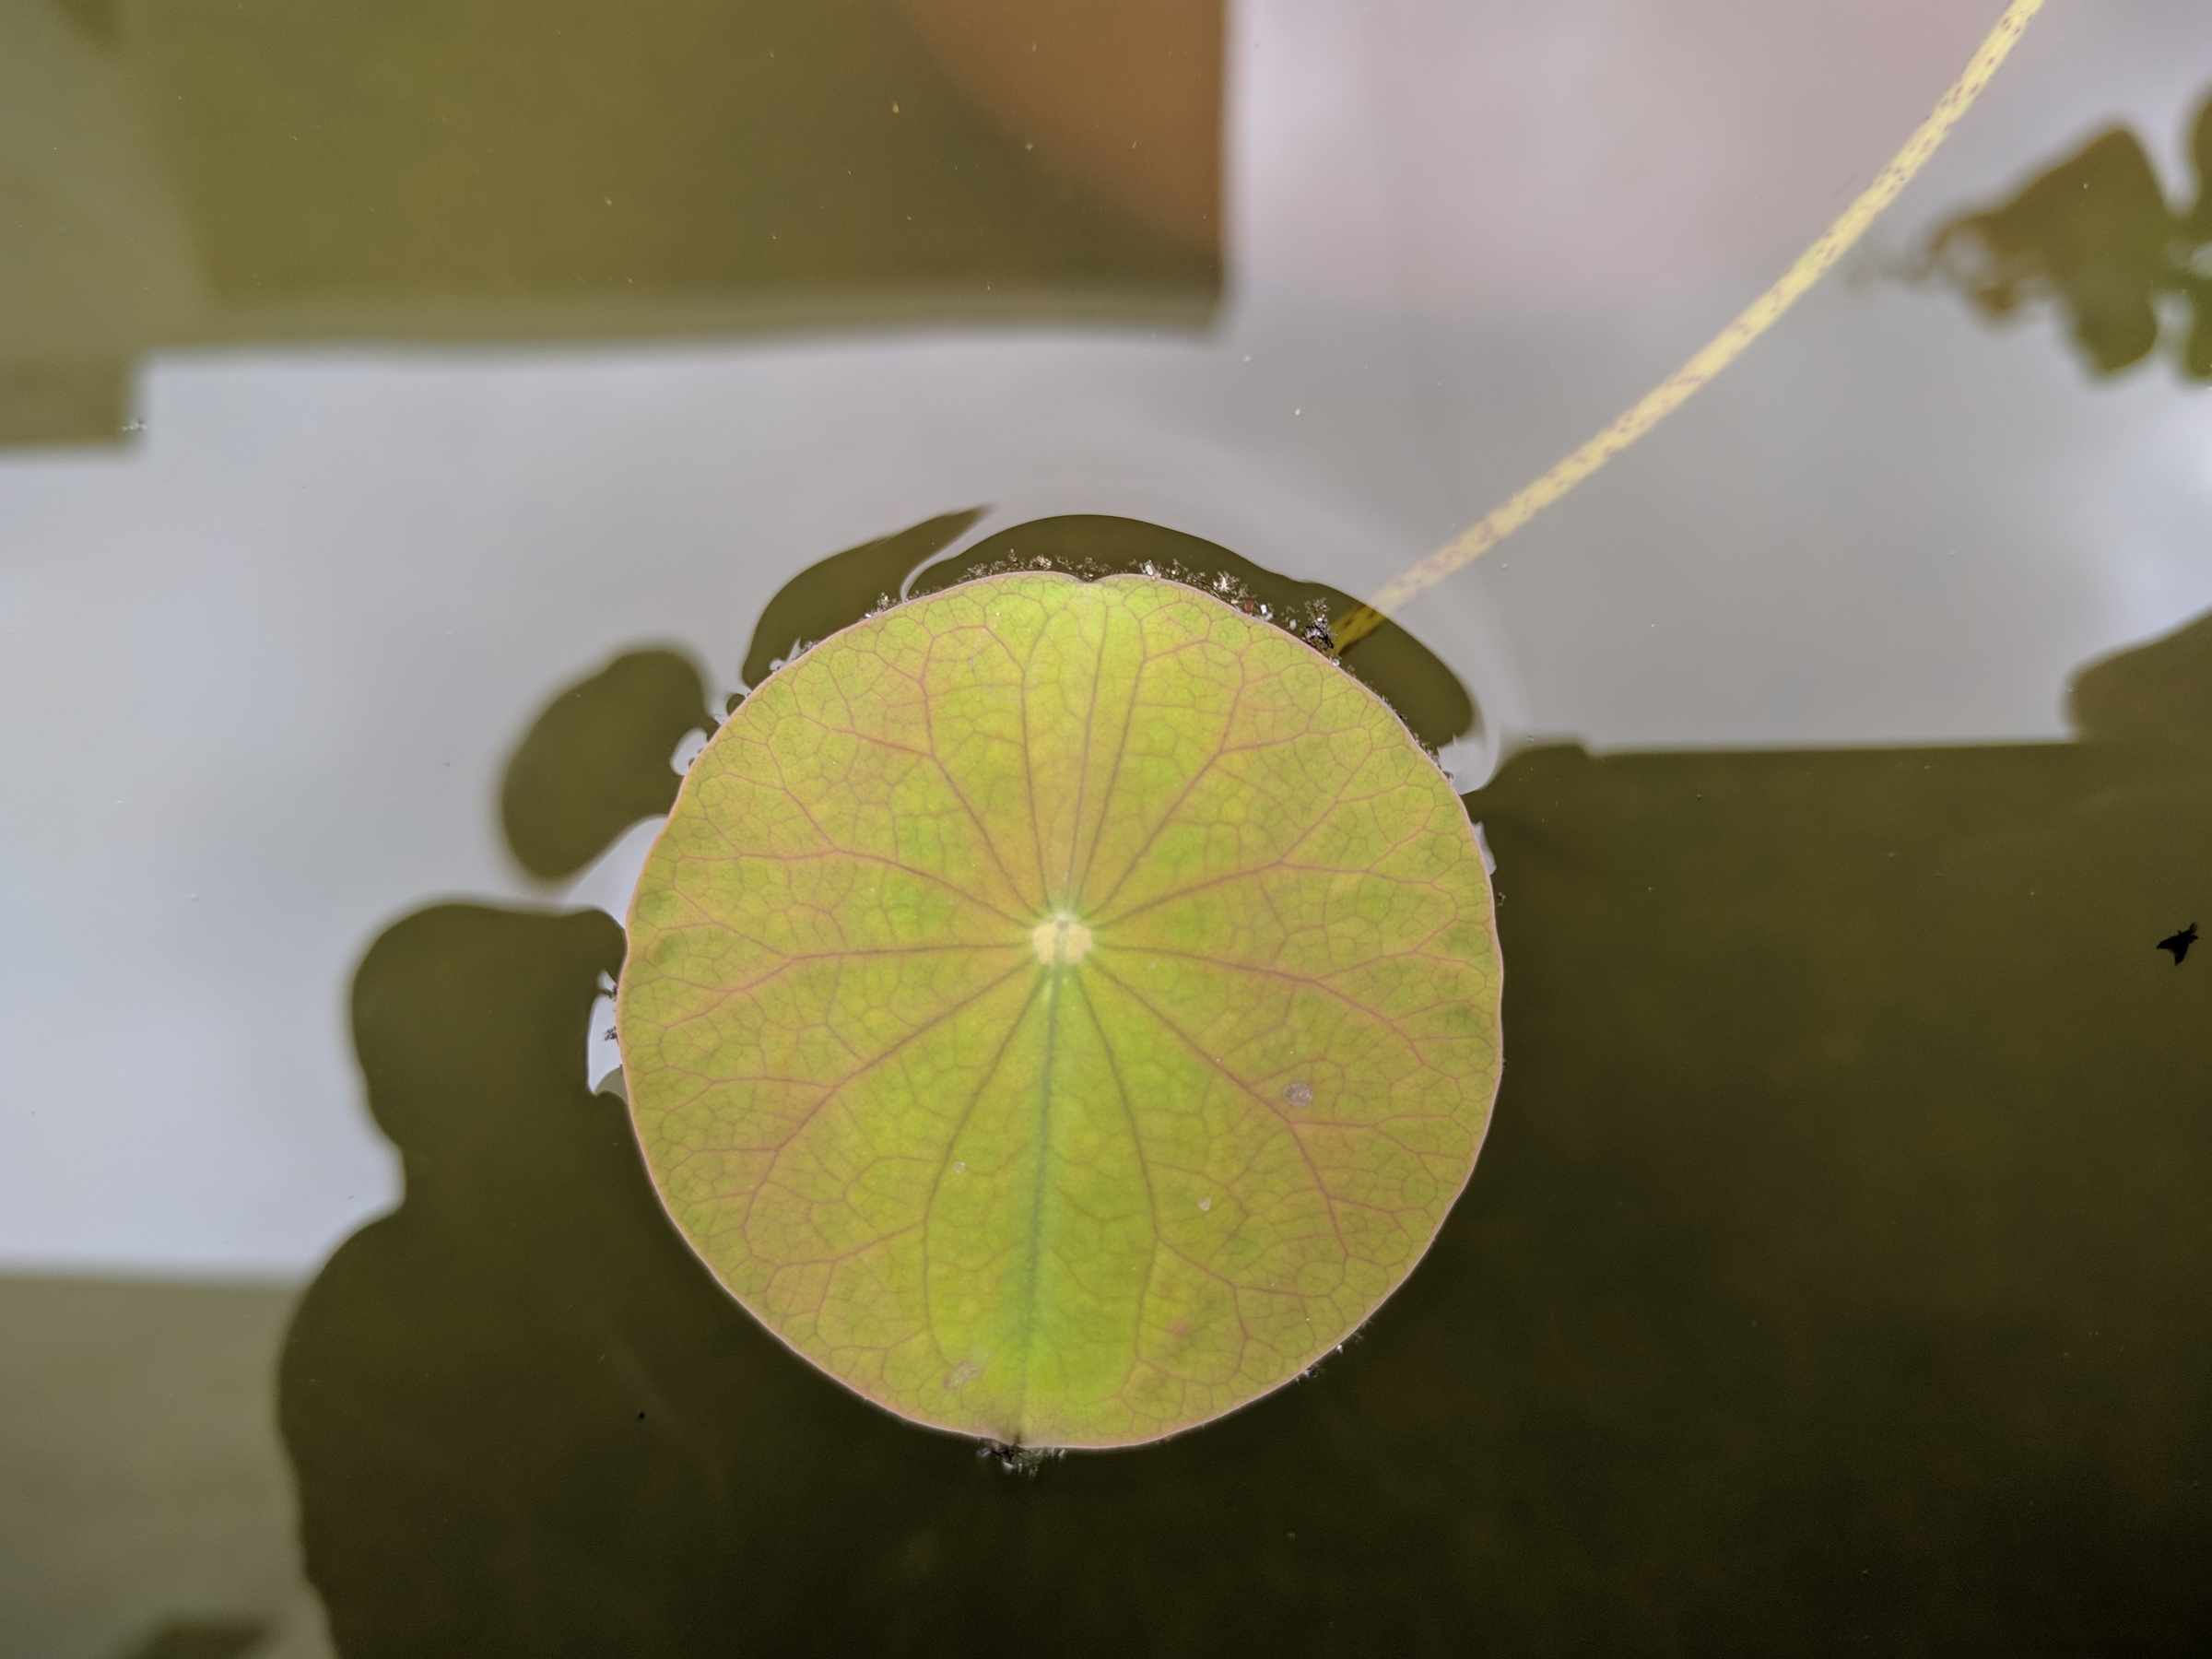
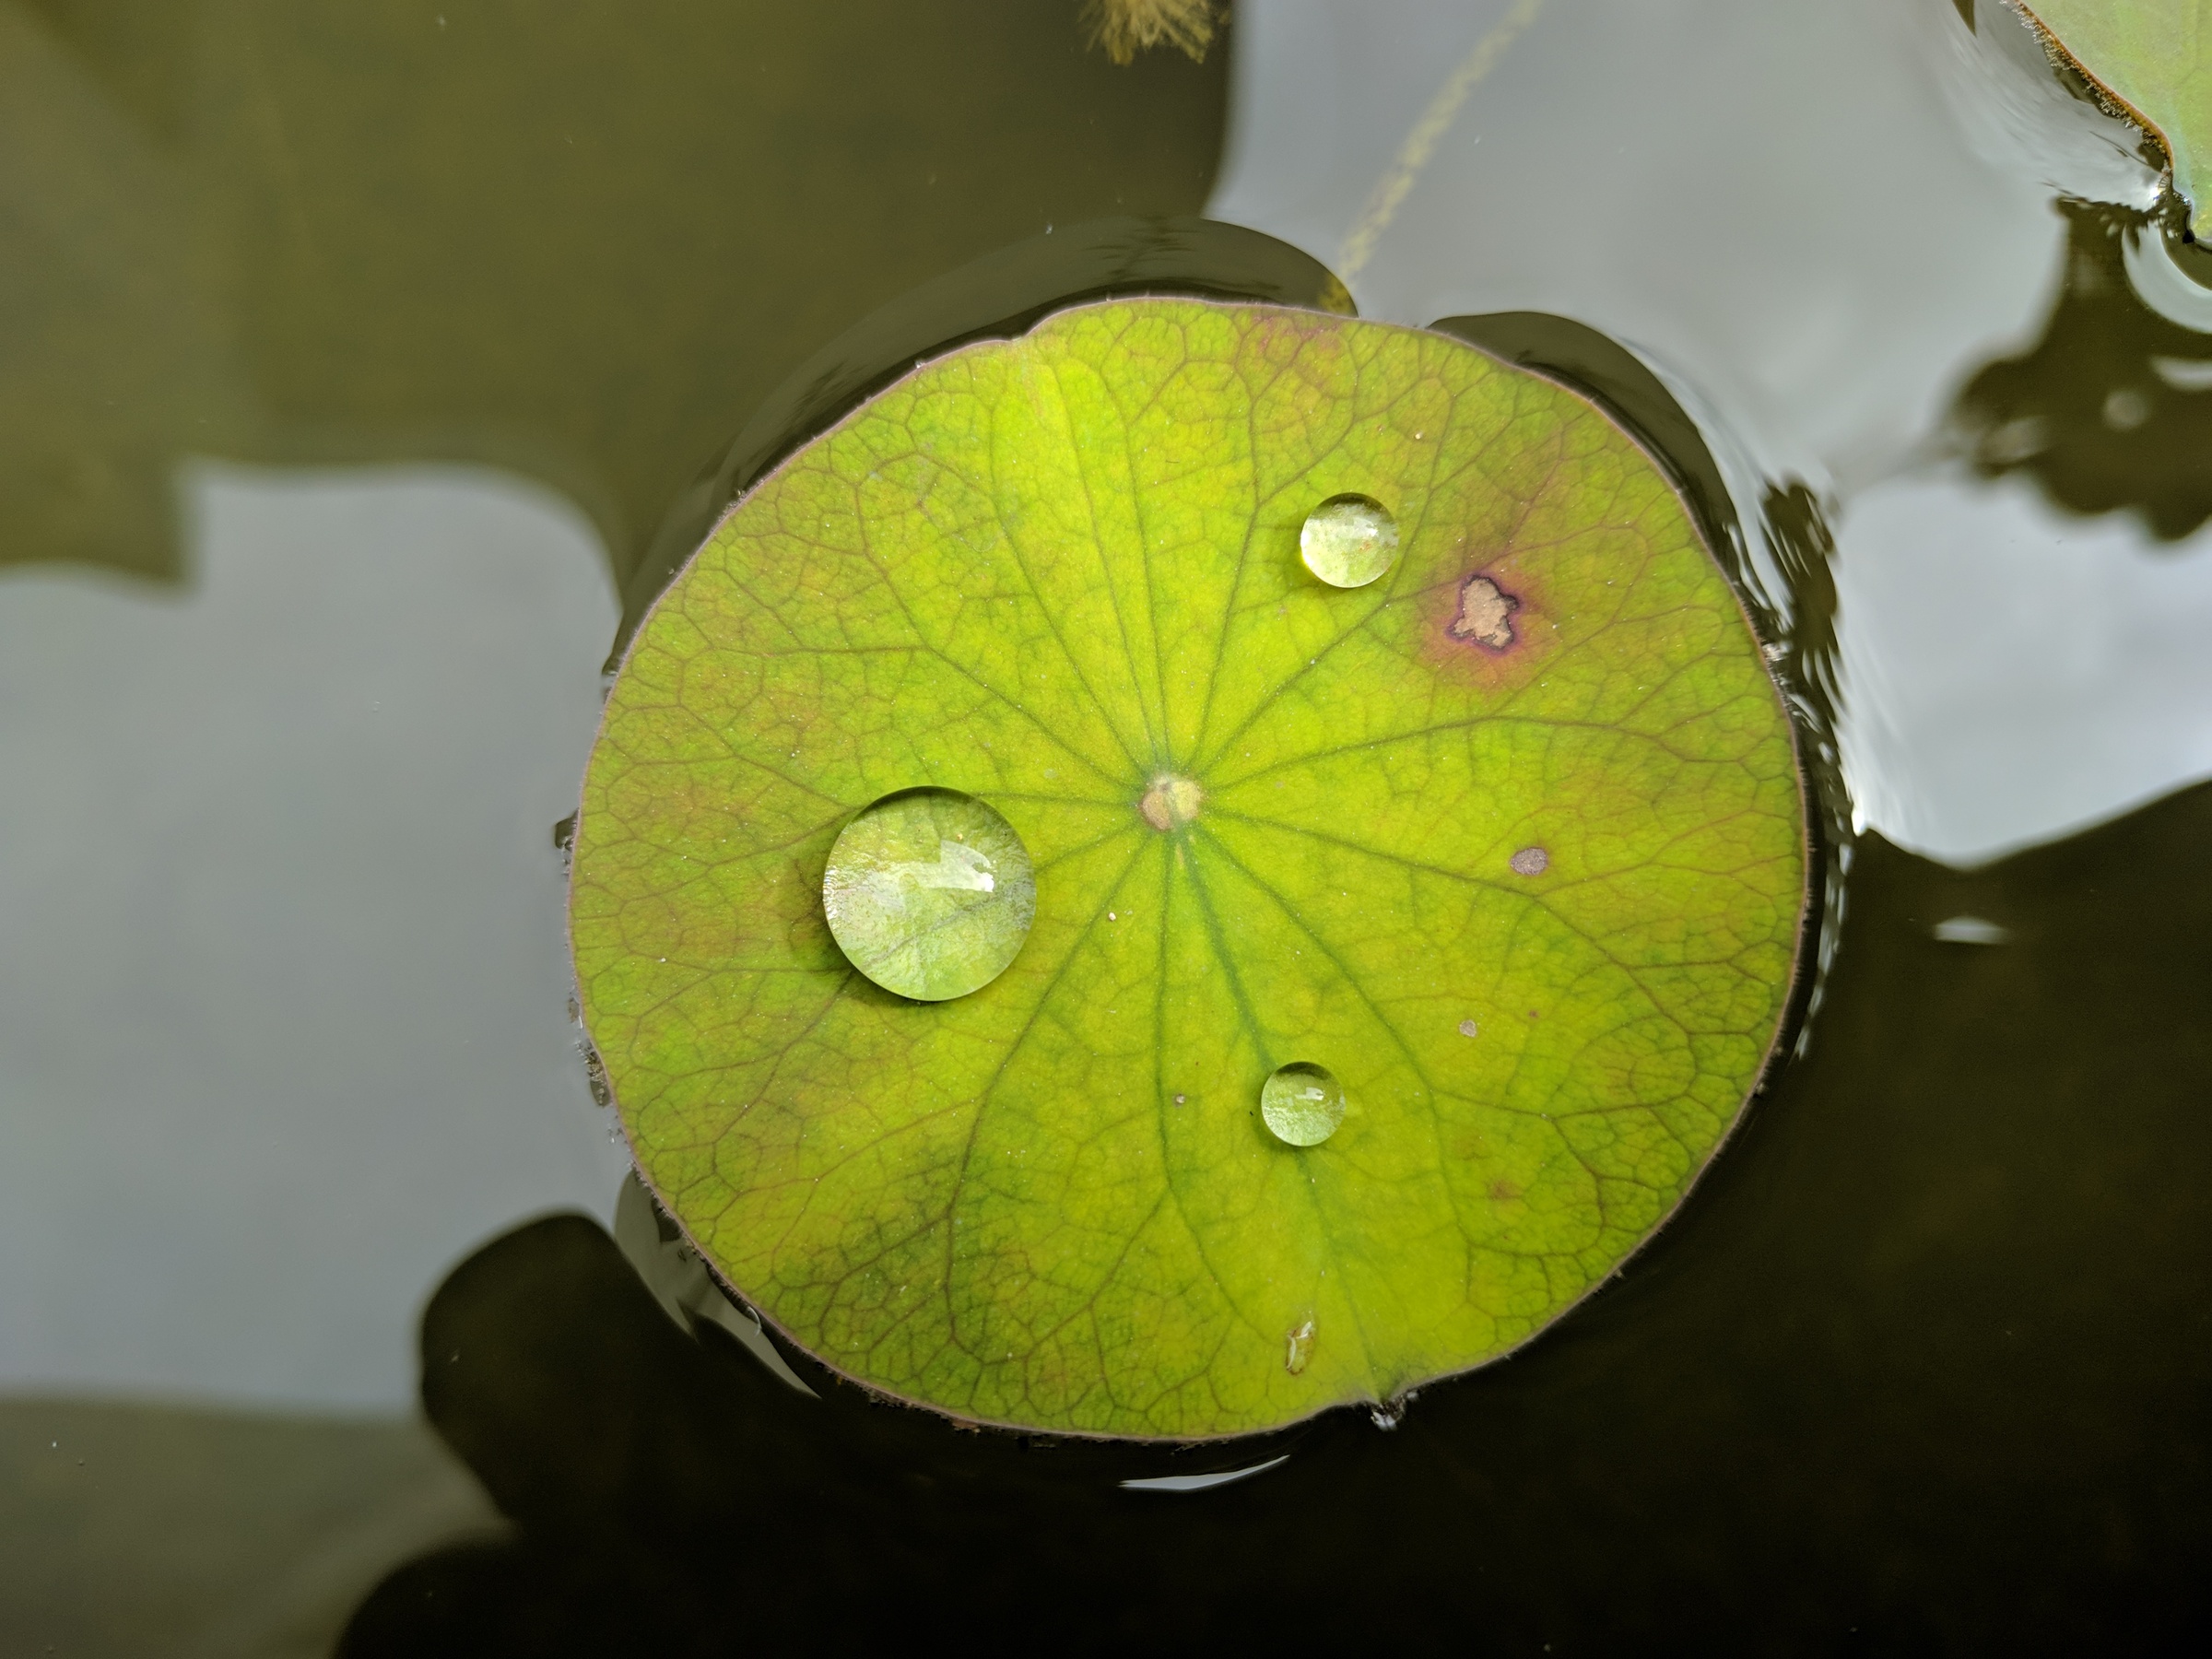
Once your shoots get accustomed to the new environment, they start to grow again. That is what you see in the picture above, where the shoot reaches the surface of the water and then starts developing into the beautiful lotus leaf
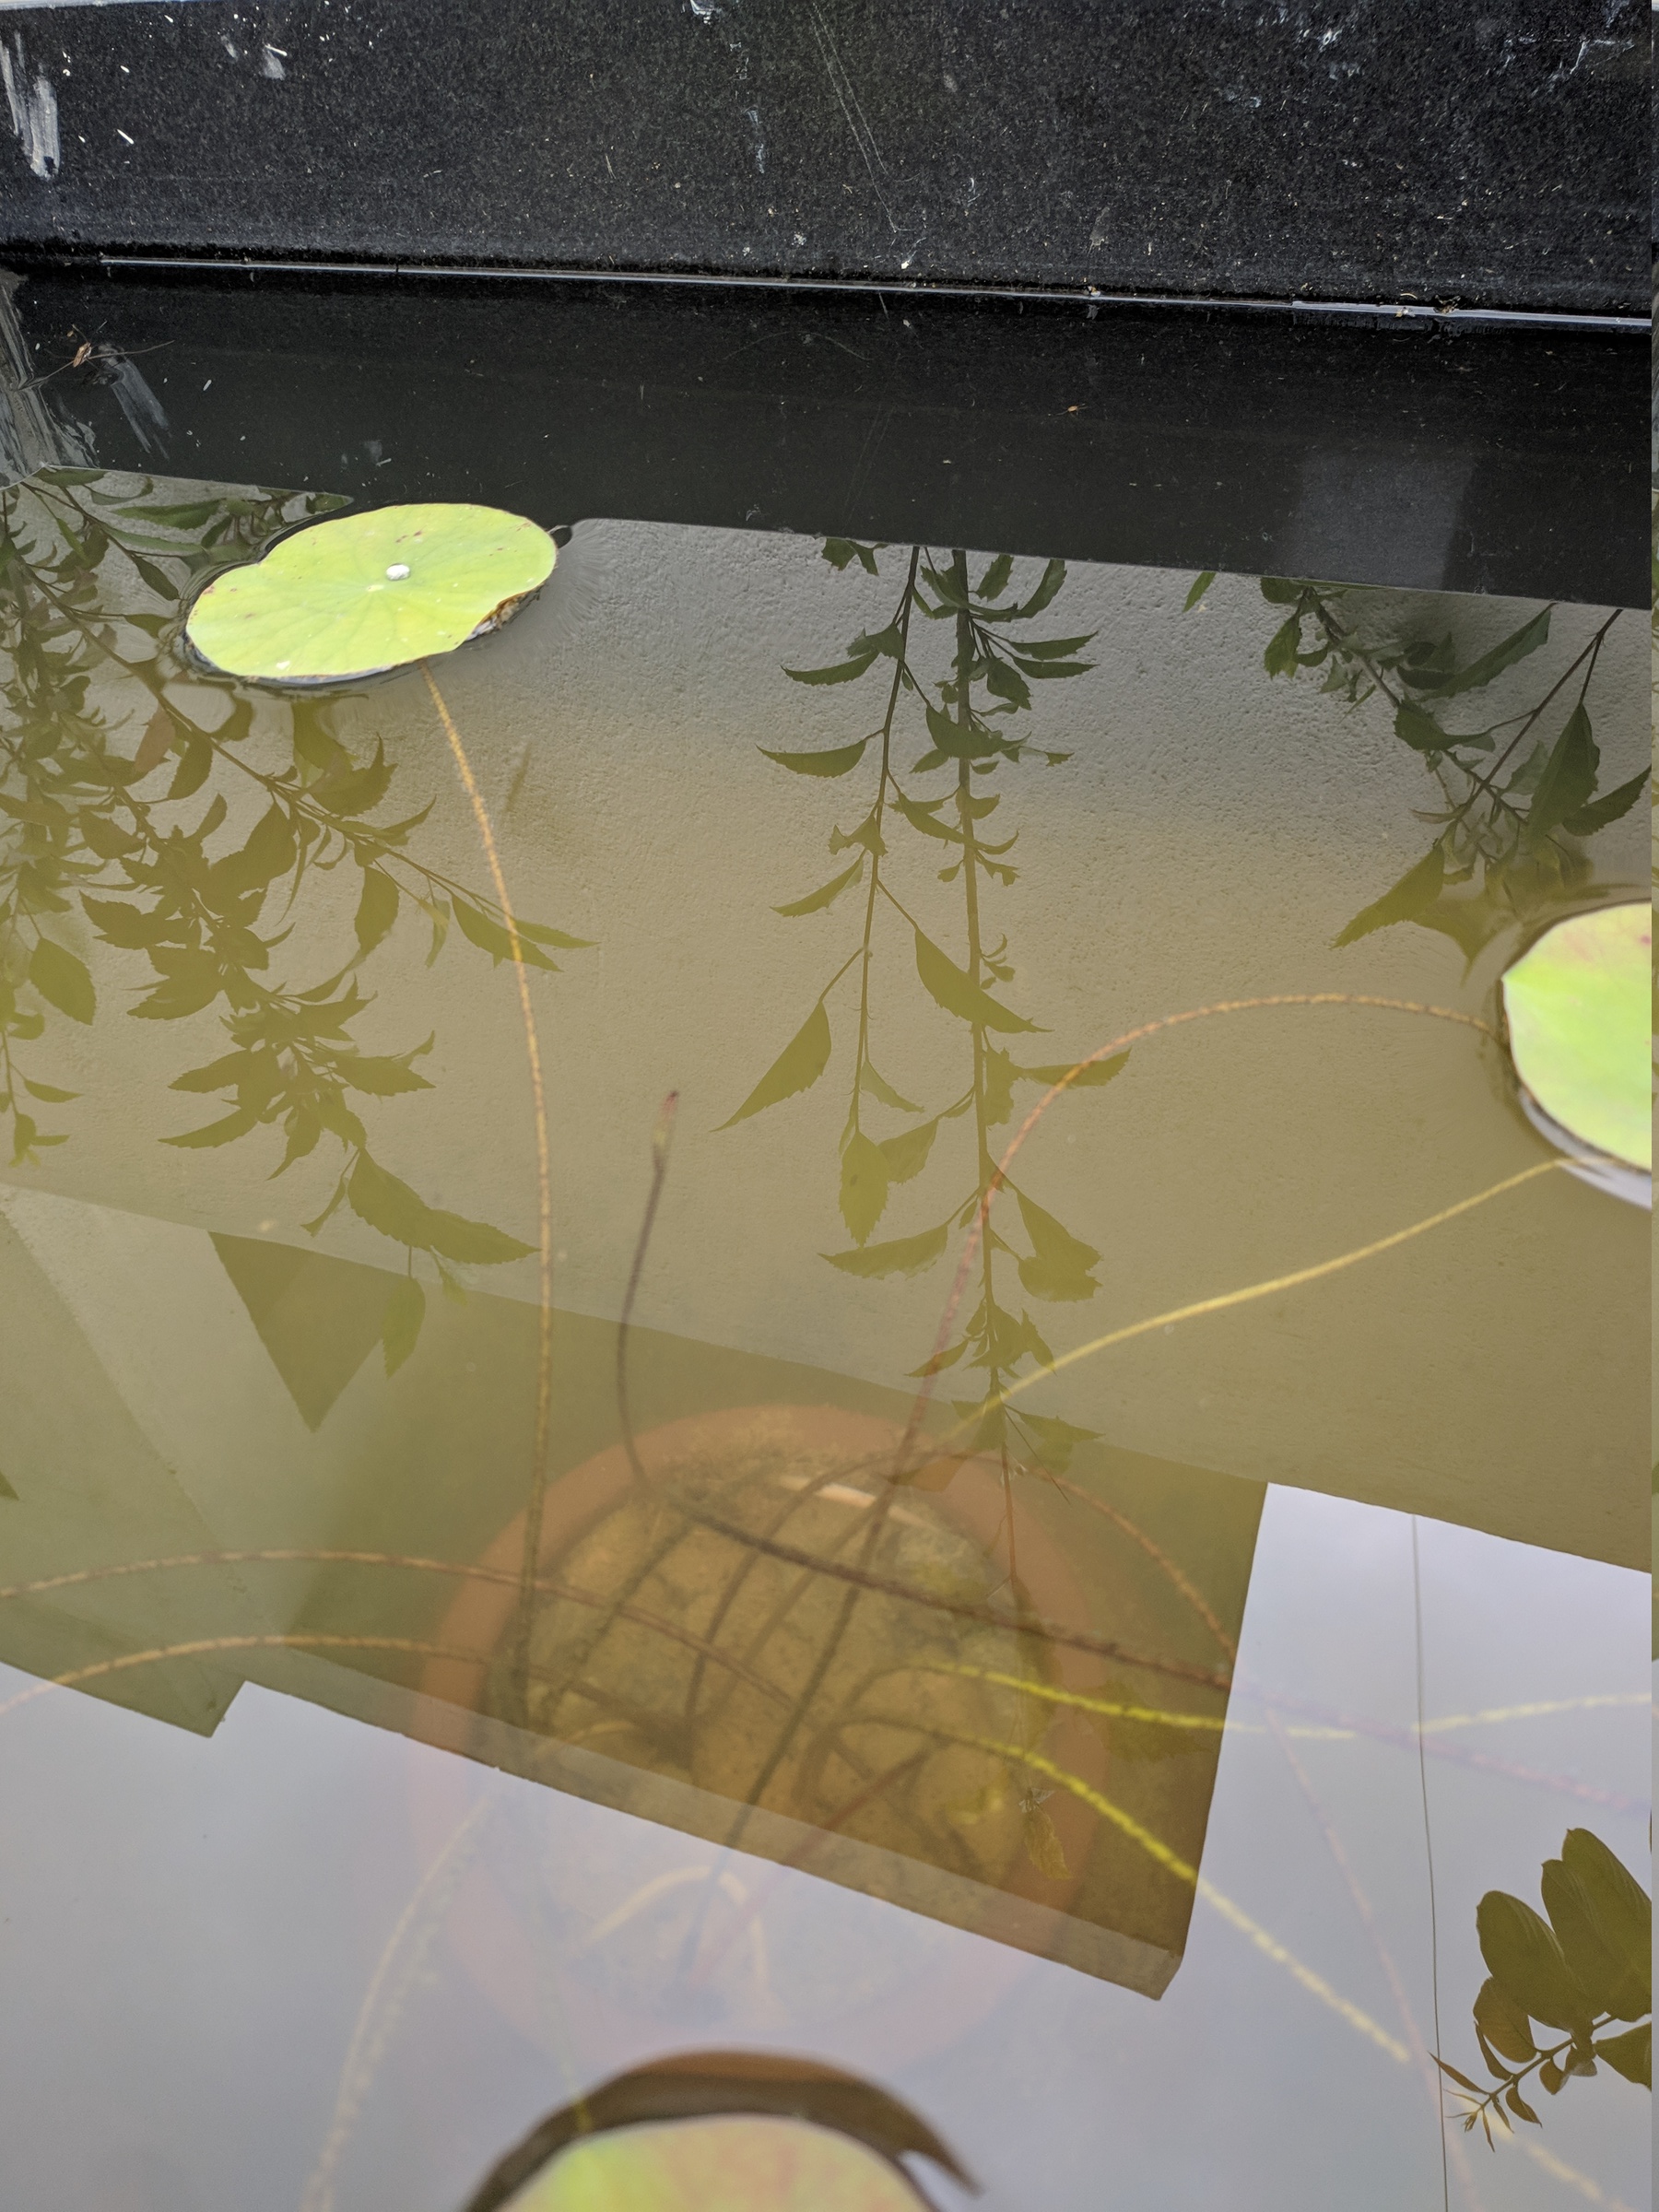
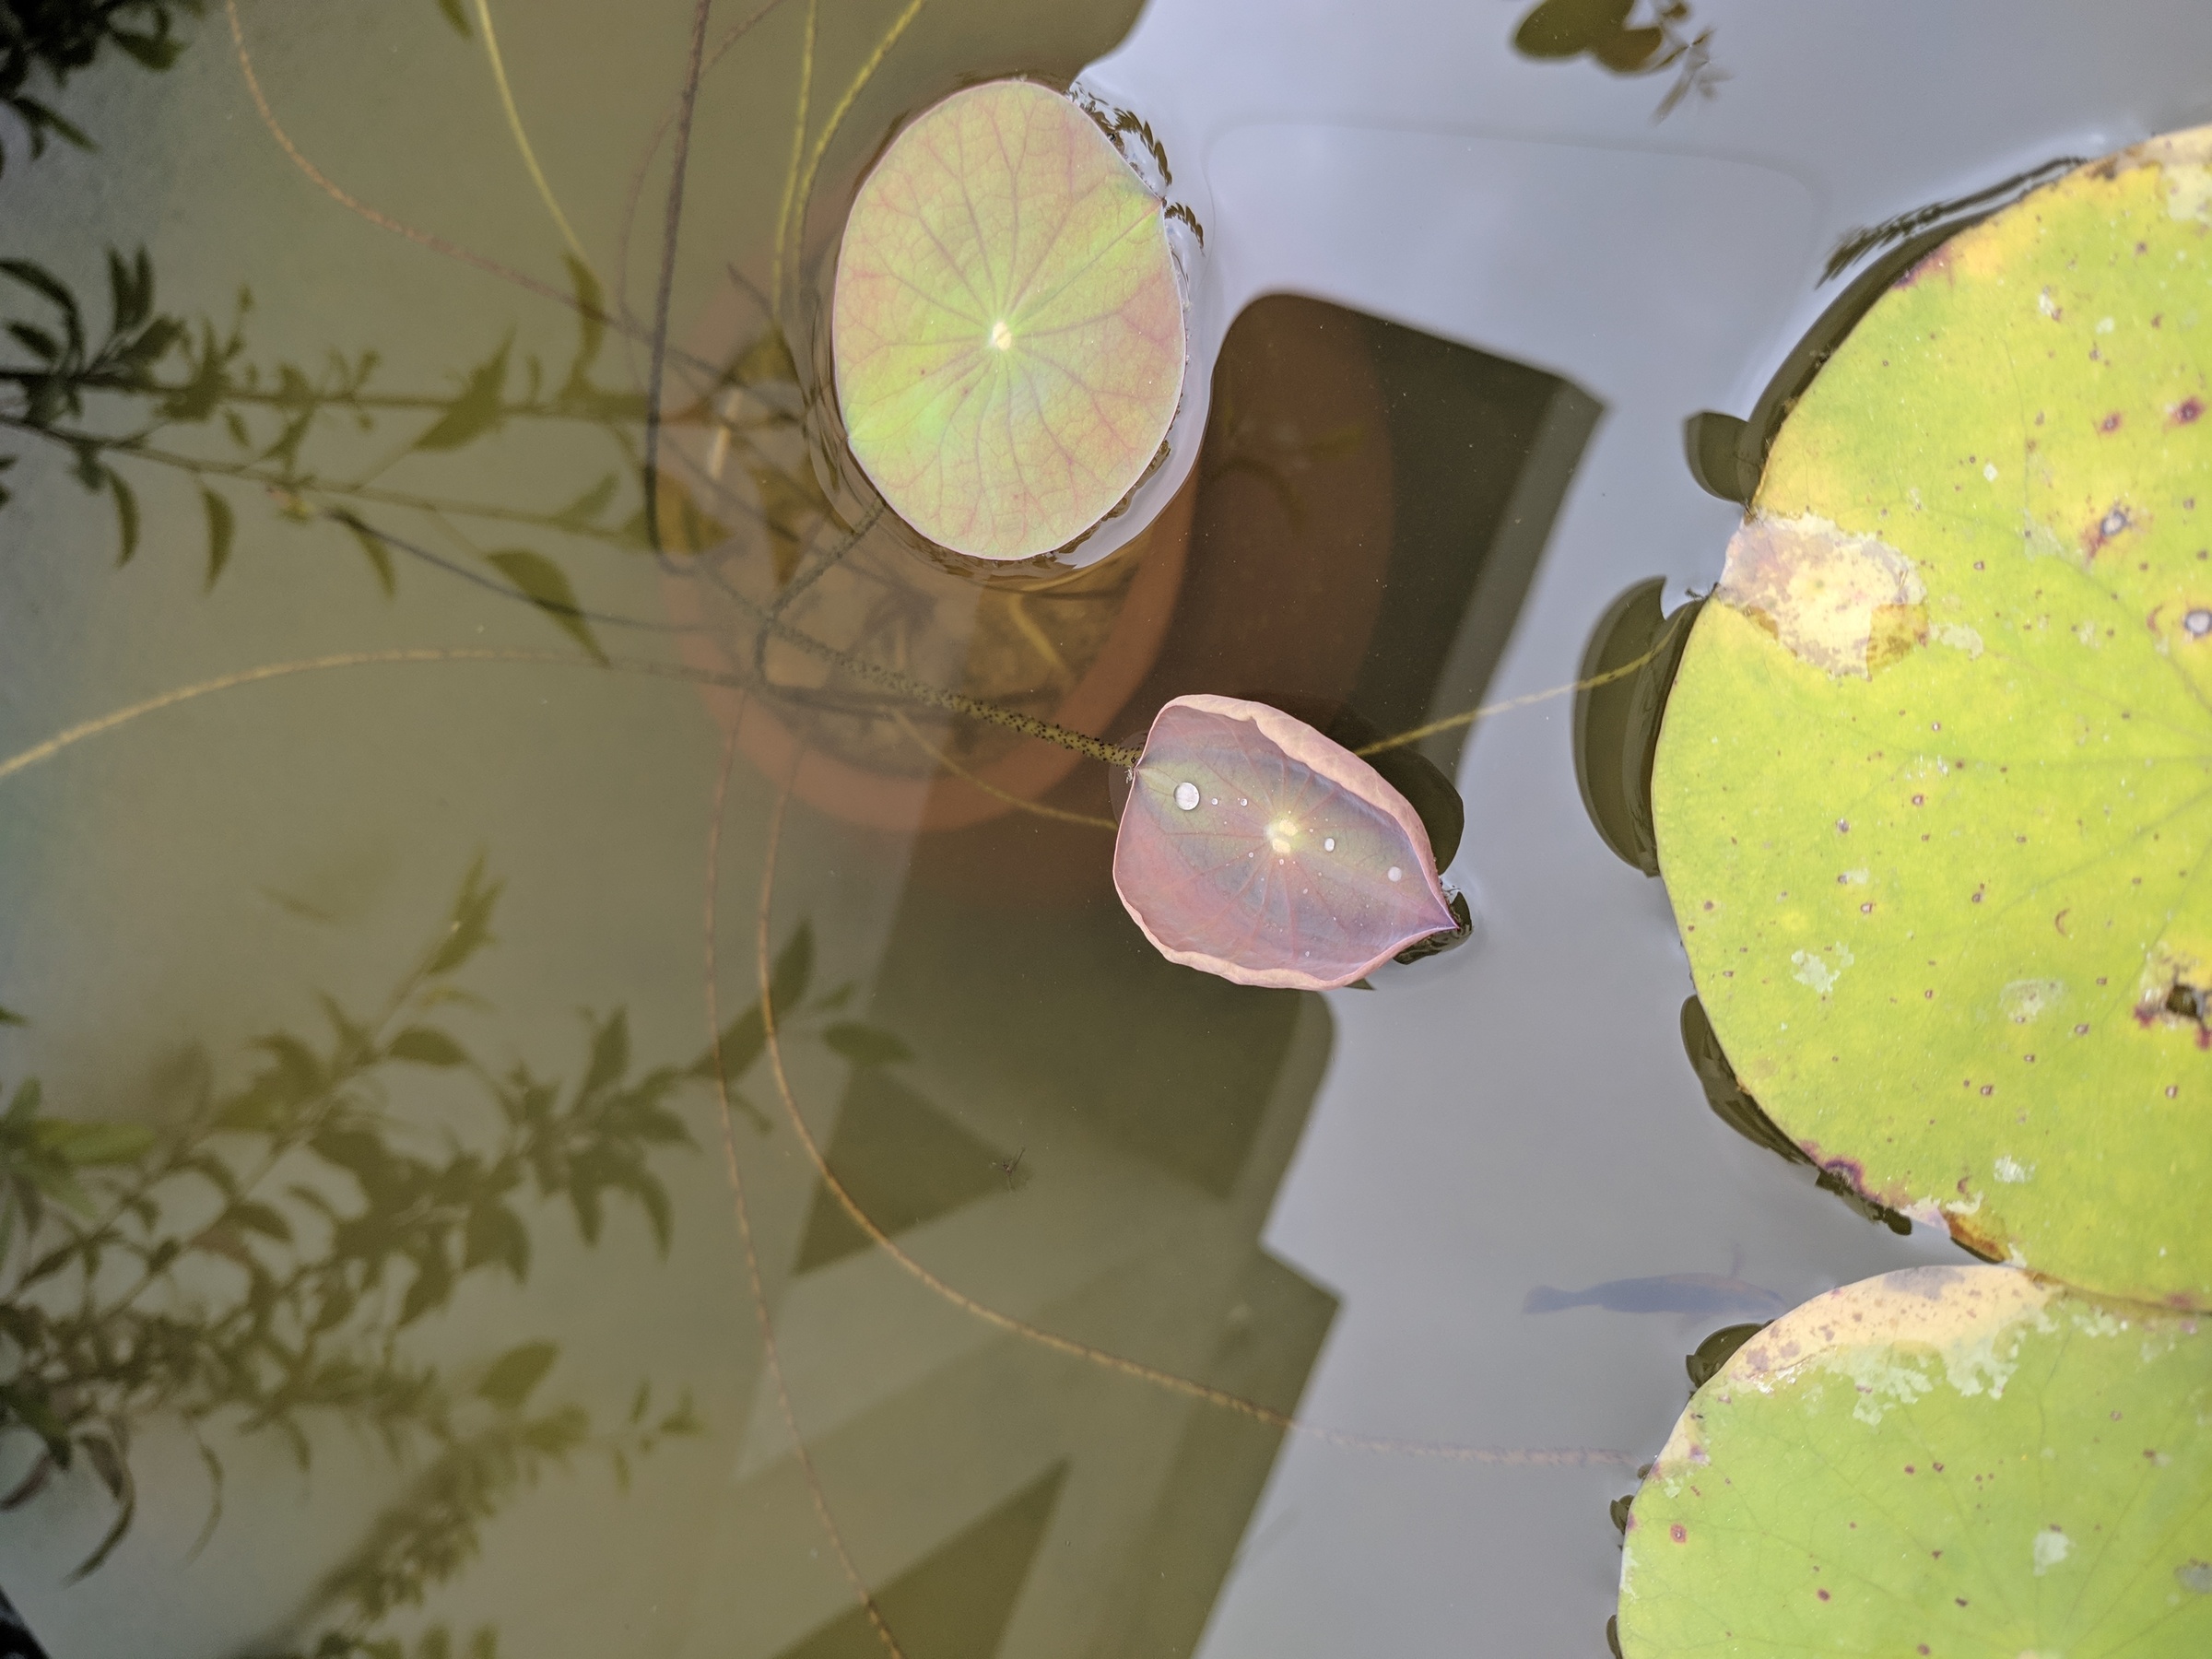
Lotus leaf
It is a pleasure to see the Lotus leaves floating on the water. The flowering is going to take well over a year, from what I have read on the internet. But the Lotus Leaves, its veins and the water droplets on it, for now itself, are very soothing to watch
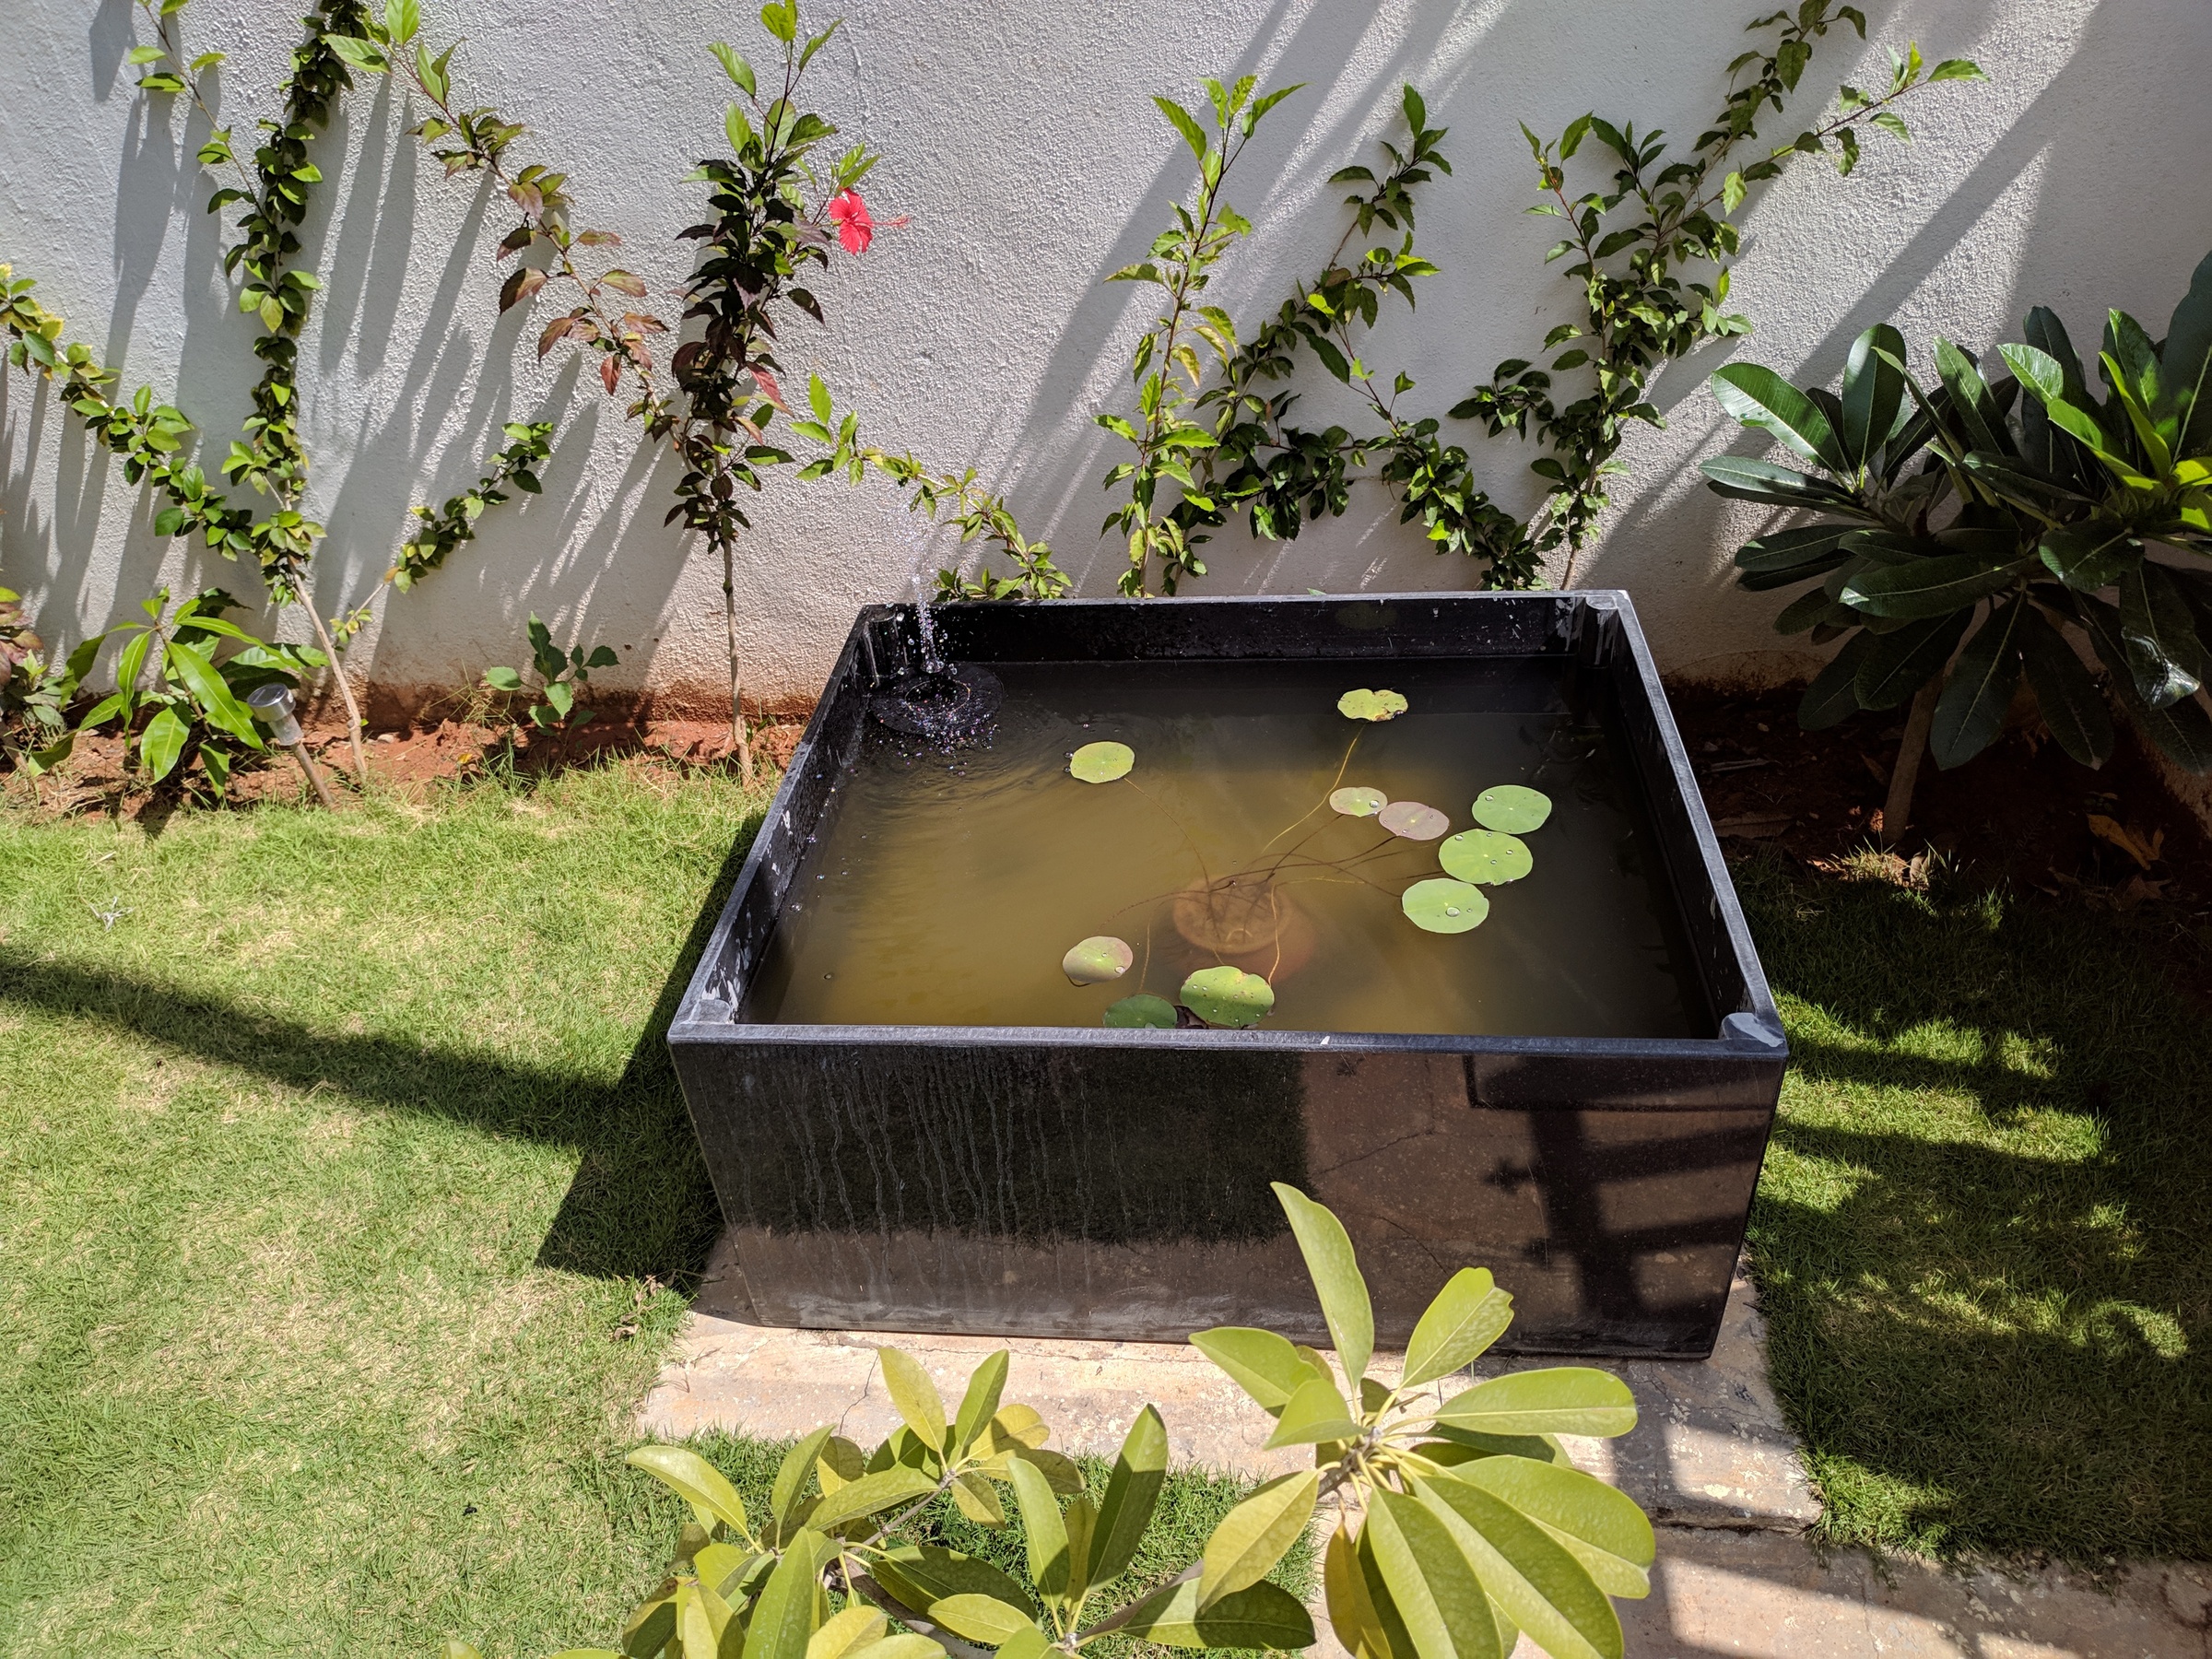
Final Result
As of today, this is what the final setup looks like. Hopefully, in a year’s time, there’ll be flowers
Update Sat 12 Oct 2019
So I was able to capture some pictures from the Lotus pot, wherein you can see the Lotus Shoot while inside the water, then Lotus Shoot when it reaches the surface, and finally Lotus Shoot developing its leaf

No Comments Yet
Leave a Comment